
Organize your questions and next steps, then save your worksheet.
Summary and next steps
Use removable external cues or purpose-made tactile cups instead of cutting or filing handles. Preserve the actual volume markings.
- Confirm each cup’s printed capacity and units
- Choose material compatible with washing and food contact
- Replace loose cues before relying on the cup
Editorial maintenance: October 24, 2026. Summary layout, related links and technical metadata updated. This is not a full clinical review.
Choose external cues before modifying a cup
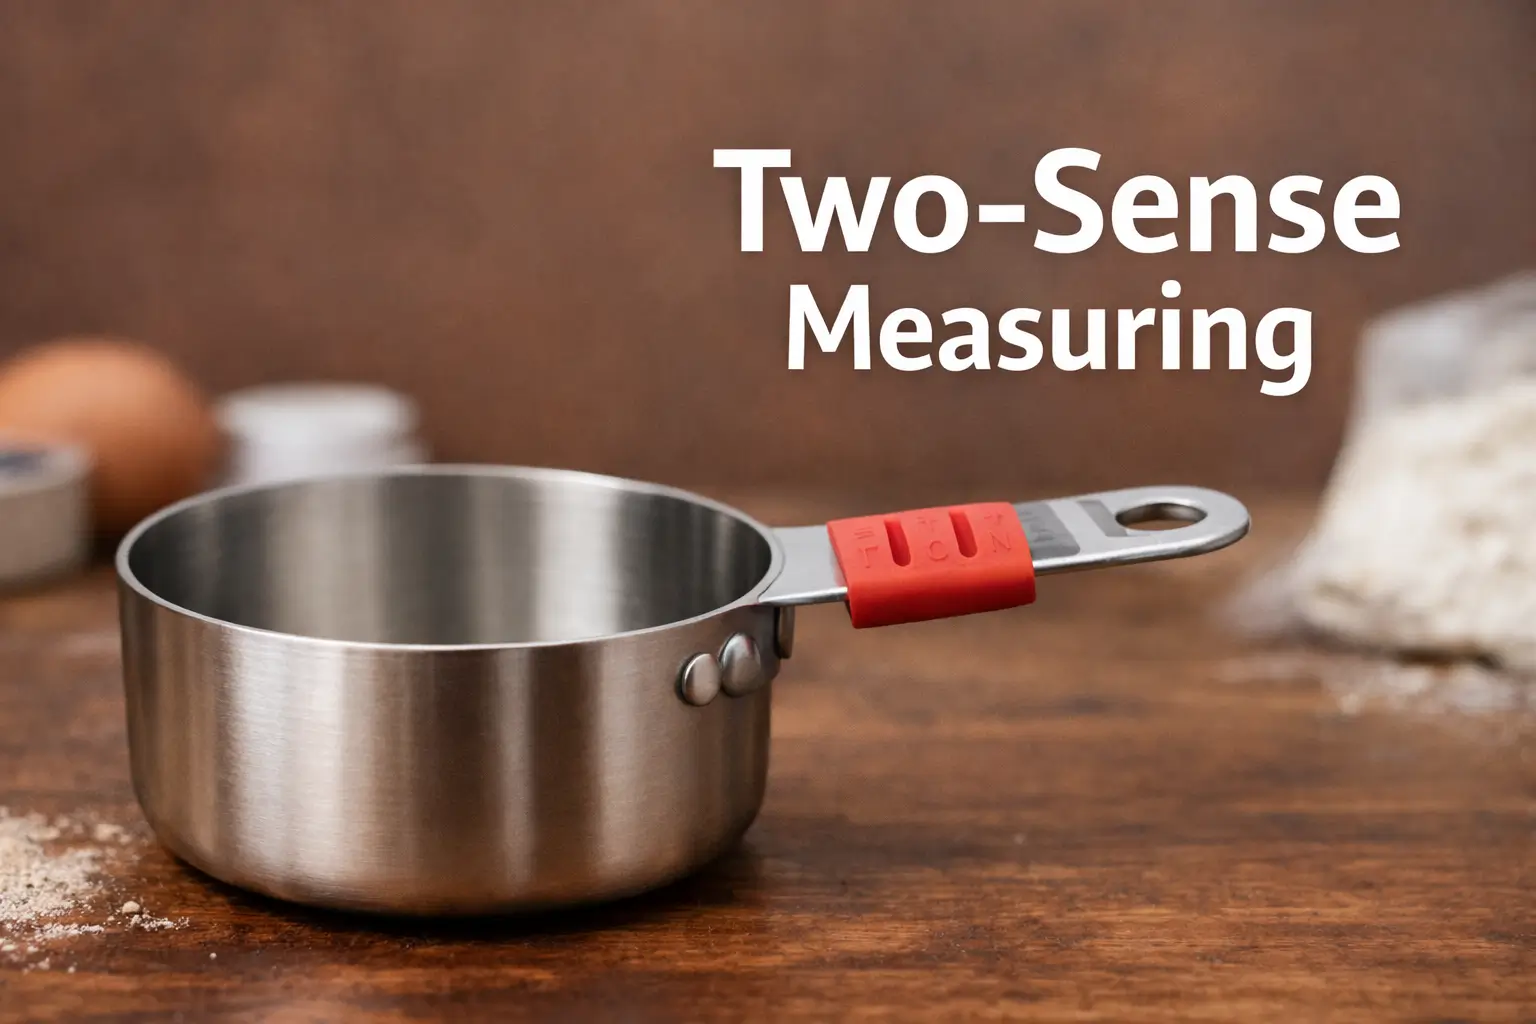
Start with a measuring cup whose capacity and units can be verified. Purpose-made tactile or large-marked cups may be easier than modifying a familiar set. Removable external markers are another option when the cup manufacturer permits them.
Do not cut, file or melt notches into a handle. This can weaken the handle, leave sharp edges or create a difficult-to-clean surface. A cup used for hot ingredients needs an intact handle and a grip the user can manage.
Build one small, agreed code
Choose one cup first. Read its original capacity together and record the units. A US cup marking and a milliliter marking must not be treated as interchangeable without checking the recipe and the actual measure.
- Agree on a distinct tactile cue and a readable label.
- Keep the original volume markings visible.
- Place approved cues on the exterior, away from the food-contact surface, rim and critical grip area.
- Do not use the same cue for two different capacities.
A band or dot identifies the cup only if it stays with the correct cup. It does not measure a liquid level or prove the amount in the cup is correct.
Check washing, grip and storage
Follow the cup and marker makers’ cleaning instructions. Dishwasher compatibility cannot be established by one successful wash. Inspect for loosening, trapped dirt, cracks or a changed grip after cleaning. Remove a loose or damaged cue before ordinary use.
Compare the empty cup and a harmless room-temperature practice task while seated at a clear table. Do not test a new label system with boiling water, sharp tools or a time-critical recipe. Stop if the cup slips or the cue remains confusing.
When another tool is more useful
If identifying the cup is only part of the problem, ask about a large-marked jug, a talking scale suited to the recipe, or individual kitchen training. Kitchen cups and spoons are not appropriate substitutes for a pharmacist-recommended medication dosing device.
For broader support, see NEI vision rehabilitation. The suggested code and practice task are editorial examples, not a universal or clinically validated system.
Editorial rewrite: October 22, 2026. Removed instructions to cut or file measuring-cup handles. Independently edited by a non-clinician.
PUT THIS GUIDE TO WORK · INTERACTIVE WORKSHEET
Scale a recipe quantity without changing units
Use this worksheet alongside the article: How to Label Measuring Cups for Low Vision Without Cutting the Handles. Use the fields provided to organize your notes and next actions, then save your worksheet.
Your entries stay in this page and are cleared when you reload. No account is needed. Saved files are downloaded only to your device.
This changes quantity only; it does not convert cups, spoon sizes, mass, or volume. Cooking time, equipment, food safety, texture, and some ingredients do not scale proportionally. Use this for ordinary cooking only, not medication, infant formula, canning, or another safety-critical formula.
How to use your result
Save the worksheet before leaving this page. Recheck any quote, date, or instruction with the relevant provider, pharmacist, manufacturer, or official organization. A completed checklist means you recorded the steps, not that an outcome is guaranteed.
Worksheet added October 20, 2026. Read the article above for context and its stated review scope.